Hoof Trimming Specialties ®
TREADS ® Hoof Blocking Instructions
|
|
|
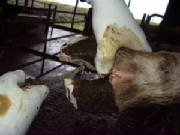
Step 1
Lightly score and clean the
side walls of the healthy claw about 1/2" up the wall.
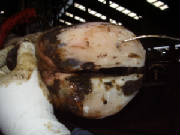
Step 2
Lightly score and clean the sole of the healthy claw. Step 3
Place TREADS ® hoof block with
the straight edge along the inner cleft of the prepped claw .Trace the outline of the hoof with a pen onto the block.
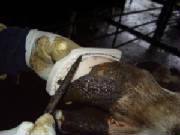
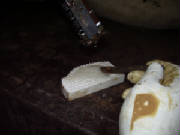
Step 4
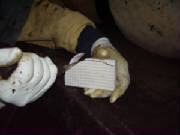
Carefully cut along the outlined area of the block. You now have a block that is custom sized to fit the hoof. Step 5
Dispense adhesive onto the block and mix
with a mixing stick or use an automatic mixing tip for adhesives that require two parts. (Shown using urethane type adhesive.)
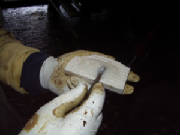
Step 6
Mix thoroughly.
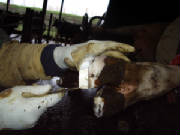
Step 7
Place block with adhesive onto the prepped hoof and lightly press while jiggling the block back and fourth to remove air bubbles. Hold the block in the desired position until the adhesive is set. Allow extra time for adhesive to cure before returning the animal to it's feet. Blocks that fall off when the animal is let out have not had enough time for the adhesive to cure. Always be sure the adhesive has cured before allowing the animal to put weight onto the block. Our thermoelectric warmer/coolers are a good tool to help manipulate cure times.
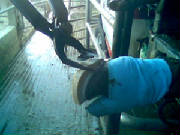
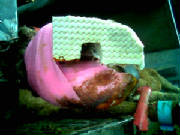
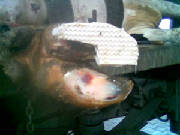
Cut to size before or after attaching to the hoof. See pictures for other applications customized for extreme situations.
|
||||||||||||||||||||||||||||||||||||||||||||||||||||||||||||||||||||||||||||||||||||||||||||